Pages

Showing posts with label ATC's. Show all posts

Tuesday, June 09, 2009

New Stamps


I saw these and dismissed them on first look but they are nice and also go well with my Altered themes. I tried them out today on some ATC's. They are by Personnal Impressions and about 5.00 a set. I combined them with some Crafty Individual ticket stamps and added colour with watercolour pens.

Tuesday, April 28, 2009

ATC's

There are made with all the leftover bits after I had made cards with the backgrounds I tried out.
Stamps are from Illusive Images. Technique is in another post, words printed on my PC and a few gems and bits added to the whole thing to finish them off


Wednesday, April 15, 2009

Scrap paper re-cycled

I usually throw all this in the bin but you see all these popular people on TV doing techniques and using up their bits so I thought I had better too.

This soggy mess was after my dark spritzing, I randomly sprinkled loads of different colour embossing powders on and heated it up
This is what I got from itI used a few sections of it as mount pieces to make these ATC's, also used free papers from a magazine, gems from poundshop, and my bits of altered cork This was the mask I used to make the frame for the A4 collage, I just spritzed it all over with cosmic shimmer mist in the pale blue
I stamped "Woodware" Little Mermaids on and used some H2)'s to colour them a bit more, I can't do faces :-(
Then decoupaged onto the piece of cardboard I have inked, heat embossed and coloured.This is the board just boring white corrugated, sprayed, embossed and inked with distress ink. I used a plastic bag scrunched up to use excess ink lifted from the craft sheet to add more colour round the edges.
Not the best art in the world but it was just for fun
Now any ideas of how to recycle these!!! LOL. I strongly recommend gloves with Adirondack Inks they are a pig to get off your hands :-(

Saturday, April 04, 2009

Roundies & Noah's Art

Ahh bless him my OH made this for my Grandson, just wanted to share it, got to start them on the art early so he made him a chalk board and a huge Connect 5. If it falls on him lord help us as its huge and weighs a ton but I am sure he will have fun with it. I cut the words on my Cricut with Vinyl I had leftover from signwriting the van. He has spent ages making this and cutting the circles from wood and painting them for the game, he is funny but it kept him out of my way lol
Made these the other day but not had a chance to post them.


Wednesday, April 01, 2009

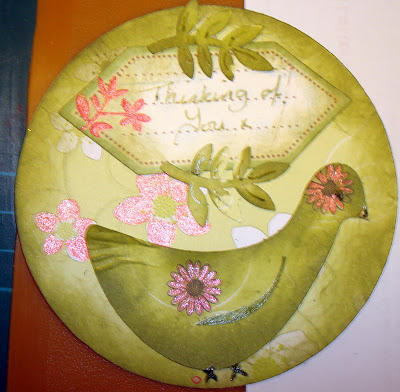
Roundies for swap


These are for the Water and Waves swap.

I used paper ribbon, stickles, word stamps, inks, mesh, fibre's and H2o's

ATC's


Here is a few I have made for various swaps.

I made these background using waxed crayons, big box of about 20 assorted from poundland great to play with they were for my grandson but I borrowed them !!

I used my heat gun pointed at the end and let it drip onto the card them sort of blew it round to get a pattern, very messy but fun :-) These are a sort of Fantasy theme so I just added a load of bling to finish them off.

Thursday, March 26, 2009

been trying out Art Foil

I have always liked the craft I have seen made with Art Foil but I have always thought it expensive before. I got some from Kraft Krazy yesterday at a very good price so here I go "playing" again.

I used a couple of techniques with it, the first was a stamped image onto the foil which I then embossed over the top and inked with some daubers and stazon ink. This is ok but you have to emboss one side the turn it over to do the other if you want it to be embossed rather than debossed. I do like to sand it lightly though it gives some texture and changes the way the ink looks.
Then I tried to draw by imagination (well sort of) and used patterns to finish the edges which gives it a more finished look, once again lightly sanded and inked with stazon dragged over and smudged with kitchen paper to be a little less bright. I am quite pleased with these

The last set are put through the Cuttlebug, positioned so you get the part of the image that looks best. You have to watch our though as the foil is thin and on some it has cut through the foil so maybe a sheet of thick paper would help to stop this happening. I have again sanded and inked using more than one colour for some. The different colours of foil have changed the way the inks work in a good way. I backed onto black gloss card for a bit more impact.

These 2 are made from the leftover bits which cut into funky shapes worked welland these are the ones that the Cuttlebug cut through when embossing. You need to stick them to the card with Ultra Sticky DS Tape or UHU glue works well too.